Plotter PDF
Download a 1:1 PDF with one generated panel and one calibration square on each wide-format page.
Download the full-size PDF
Choose either File > Export > Plotter PDF (1:1) or Plotter PDF in the panel-viewer toolbar. There are no paper or scale options. The browser downloads panels-plotter.pdf.
Both paths request the same PDF. The viewer toolbar shows Plotter PDF… and pauses the other export buttons while it runs; the File-menu path has no in-progress label.
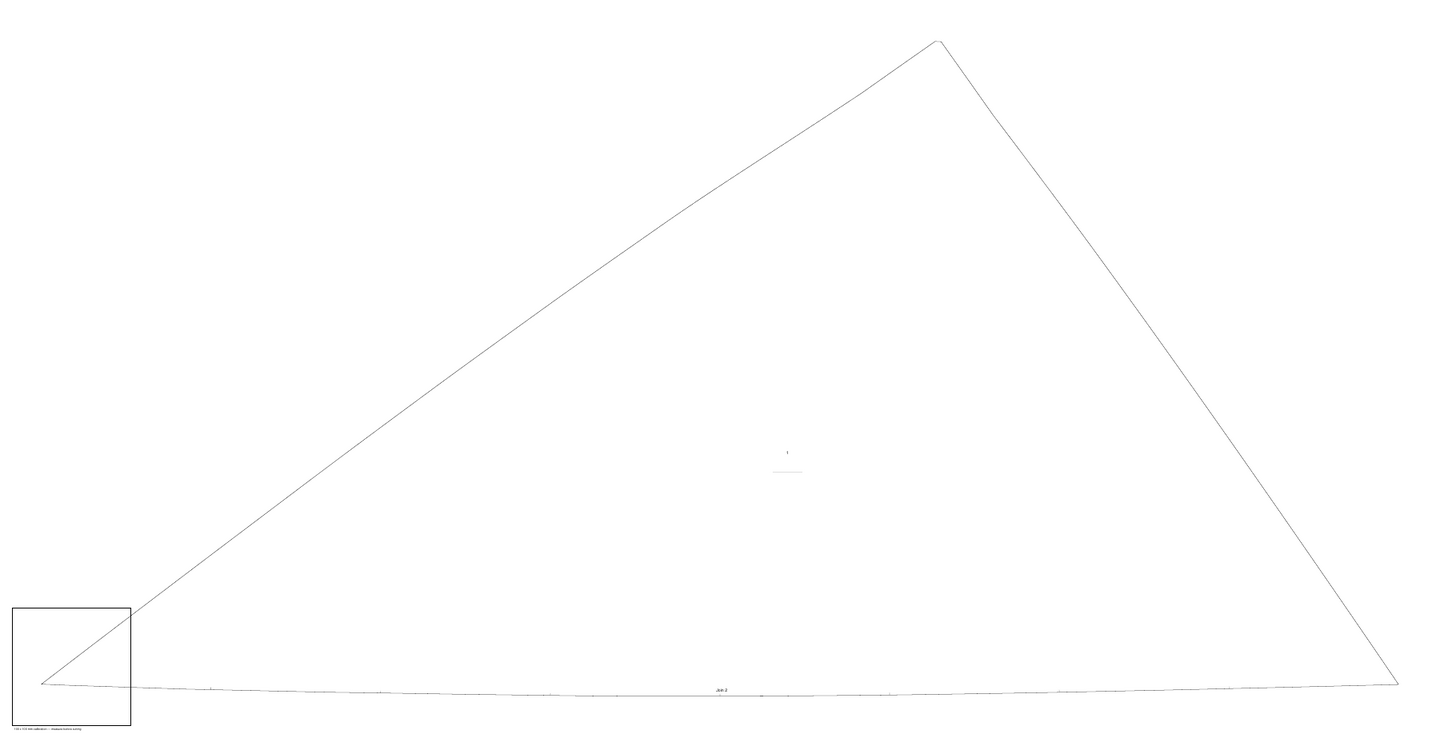
One 1:1 page from the Albin Vega 27 gennaker example; the page follows the panel's bounding size rather than a standard paper format.
- One full-size panel per page
- Allowance and match marks
- 100 × 100 mm calibration square
Read the pages
The PDF has one page for each generated panel. Each page is sized around that panel, so it is not A3, A4, or another fixed paper size. The drawing is in millimetres at 1:1 and can include:
- the solid cut boundary and dashed owned seam allowance;
- match marks along shared seams;
- the warp-direction mark, short panel number, and seam labels;
- a labelled 100 × 100 mm calibration square.
Panels are not nested together, and corner reinforcement patterns are not included.
Plot without scaling
Check the page count
Confirm that the PDF has one page for every generated panel and that each short panel number appears once.
Select actual-size printing
In the plotter software, use Actual size, 100%, or the equivalent. Disable Fit, Shrink oversized pages, and other automatic scaling.
Measure the calibration square
Plot a test page and measure the labelled square in both directions. It must be 100 × 100 mm before you rely on the panel outline.
Check one panel dimension
Compare a known panel measurement and inspect the allowance, match marks, and warp mark before plotting the remaining pages.
Variable page sizes
Software that silently substitutes a standard roll or sheet size can crop or rescale these pages. Review the print preview and calibration square on every output device.